Designing Restaurant Booths for Re-Upholstery and Repair: A Practical Guide (2026)
How to specify restaurant booths that can be re-covered and repaired: removable covers, replaceable wear parts, bolted frames, parts lists and what it changes.
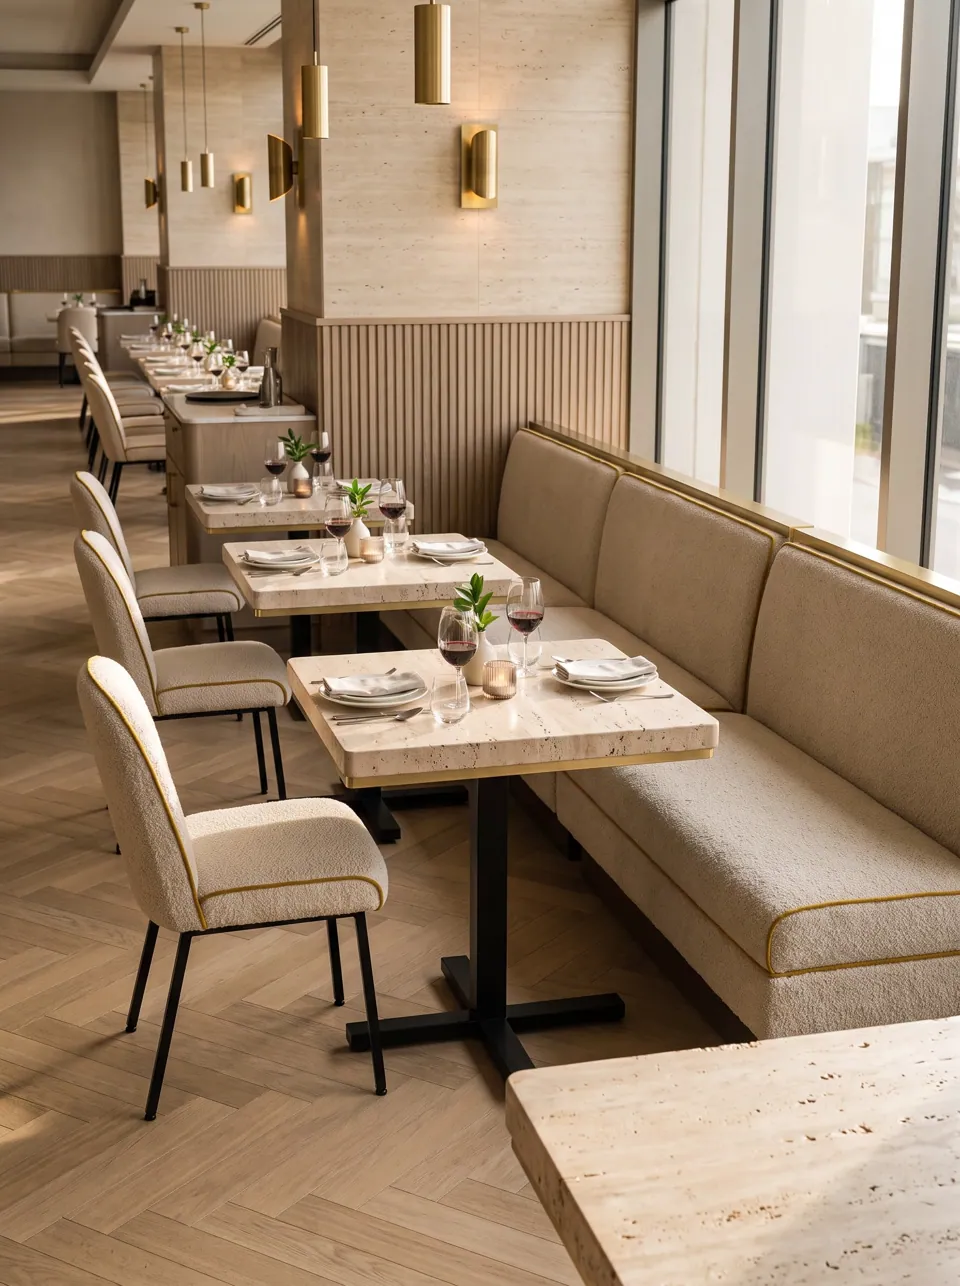
Short answer: A booth designed for re-upholstery separates into parts: loose cushions held by studs, clips or hooks; covers that unzip; wear parts such as the seat front edge and end guards that unclip; and backs that bolt to the seat box. Specify these features at the drawing stage, ask for a parts list with dimensions, and keep spare covers or pads for the parts that wear first. The frame, which is rarely what fails, can then stay in service through several interiors.
This guide explains where restaurant booths actually wear out, the design features that let you repair rather than replace, and how to specify them so they work in real service.
Why do restaurant booths get thrown away?
Booths are usually discarded for one of three reasons:
- Localised wear. The seat front edge rubs through, a cushion tears, an end corner is scuffed. The rest of the booth is sound.
- Staining and hygiene. Spills, grease and hair products soak into back cushions. Cleaning helps, but eventually the cover looks tired.
- A new design. The room is refreshed and the colour scheme changes.
In all three cases the frame, the most material-intensive and structurally important part, is usually still good. But on a conventionally upholstered booth, where covers are stapled to the frame and foam is glued to it, the only options are full on-site re-upholstery (slow, messy, often requiring the booth to leave the room) or replacement.
Designing for repair means making the parts that fail easy to remove.
Where does a booth wear first?
| Area | Typical cause of wear | Design response |
|---|---|---|
| Seat front edge | Guests sliding in and out, rubbing clothes | Replaceable front edge strip; hard-wearing covering on seat |
| Seat cushion | Compression, spills, tears | Loose, removable cushion with zip cover |
| Back cushion upper area | Hair products, heads, jackets | Removable back pads or hanging cushions |
| Exposed end faces | Chairs, bags, trolleys, feet | Removable guard plates, metal edge profiles, timber or cane panels |
| Plinth | Shoes, mops, cleaning chemicals | Set-back plinth; solid timber or metal kick strip |
| Capping rail | Hands, cleaning | Solid timber or metal, refinishable |
The repair-ready toolkit
1. Loose cushions with mechanical fixings
Instead of upholstering foam directly onto the frame, make seat and back cushions as separate units fixed with press studs, hook-and-loop, clips or hooks and straps. A cushion can then be removed for cleaning or replacement by anyone, without tools. Our Three-Cushion Service Booth divides the back and seat into three identical pads each, so a single spare fits any position.
2. Removable, zipped covers
A concealed zip along a hidden edge allows a cover to be removed and replaced while the foam stays. The trade-off is fit: loose covers can look baggy if the foam and pattern are not exact. Good zip covers need a cushion with a firm, well-defined shape, a pattern cut close to size and a quality zip placed where it is not seen or sat on. See the Zip-Cover Booth.
3. Replaceable wear strips and guards
The seat front edge and the end faces take most of the damage. Making them separate parts, a clip-on leather or coated-fabric strip along the seat front, removable plates at the ends, means the worn part is replaced in minutes. Our Replaceable Wear-Edge Booth is designed around exactly this.
4. Bolted, not glued, structure
Backs that bolt to seat boxes, frames joined with bolts or pins, and panels screwed rather than glued can all be separated. This helps with repair (a damaged back can be swapped), with moving (sections pass through doors) and, eventually, with separating materials at end of life.
5. Replaceable panels
Woven cane, cork and timber panels look beautiful and can be damaged. Mount them on separate screw-fixed frames so a broken panel is replaced without disturbing the rest.
Comparison: conventional vs repair-ready construction
| Feature | Conventional booth | Repair-ready booth |
|---|---|---|
| Cover fixing | Stapled to frame | Zipped covers on loose cushions |
| Foam fixing | Glued to frame | Inside removable cushions |
| Back to seat | Glued and screwed, often one piece | Bolted, separable |
| Wear-part replacement | Re-upholster section on site | Unclip and replace part |
| Downtime for a torn cushion | Days (upholsterer, possibly off site) | Minutes with a spare |
| Colour change | Full re-upholstery | New covers on existing cushions |
| End-of-life separation | Difficult, mixed materials | Parts separate by hand or with basic tools |
| Up-front cost | Lower | Usually higher, depending on design |
Does repair-ready seating look less tailored?
It can, if designed carelessly. A loose cushion that sags, a visible zip or a gap between pads reads as cheap. The details that keep a repair-ready booth looking crisp are:
- Firm, well-shaped cushion cores that fill the covers tightly.
- Covers cut to pattern, not oversized for easy fitting.
- Concealed zips on the underside or back edge.
- A continuous capping rail or trim across separate pads so the run still reads as one piece.
- Consistent gaps between pads, drawn on the shop drawing.
How to specify repair-ready booths: step by step
- Decide the priorities. Is the main goal faster repair, easier re-covering, reconfiguration or end-of-life separation? Each points to different features.
- Mark the wear zones on your plan: aisle ends, entry points, high-turnover tables.
- Choose fixing methods for cushions and covers suited to your cleaning routine.
- Ask for a parts list with every separable part, its dimensions and materials, so replacements can be made to match years later, by us or by a local upholsterer.
- Order spares for the parts that wear first: seat covers, front edge strips, one or two spare pads.
- Write a maintenance note for the site team: how to remove and refit each part, and how to clean covers.
- Check fire performance of the composite, including any interliners, as covers are changed in future.
- Record covering details (fabric, colour, dye lot) so replacement covers match.
What about fire safety when covers are replaced?
Replacing a cover changes the composite that was fire-tested. In the UK, contract seating at medium hazard is assessed under BS 7176 using BS 5852 ignition sources including crib 5; in California, CAL TB 117-2013 applies. When you re-cover, the new fabric should be suitable with the existing foam and interliner, or the interliner should be retained. Keep the original specification so replacement covers can be checked. Your fire officer or authority having jurisdiction has the final word.
Common mistakes
- Specifying removable covers without spares. If there is no spare set, nobody removes the cover, and the benefit is lost.
- Using hook-and-loop alone on heavy seat cushions. Seats need positive fixings that do not creep under load.
- Losing the parts list. Without dimensions and materials, replacements become guesswork. Store it with the building manual.
- Re-covering without checking fire performance. A new fabric may not perform with the existing foam.
- Making everything removable. Parts that never wear do not need to come off; every extra joint is a potential weak point.
- Claiming the booths are "circular". Describe the specific features instead: "seat covers unzip and can be replaced".
FAQ
Can any booth be re-upholstered?
Almost any booth can be re-upholstered by a skilled upholsterer, but conventional booths usually need to be stripped back to the frame, often off site. Repair-ready booths allow covers and cushions to be changed in minutes without tools.
Do removable covers cost more?
Usually somewhat more to make, because of zips, cushion construction and pattern precision. The saving comes later, in shorter downtime and cheaper refreshes.
How do I keep spare covers matching?
Order spares with the original production run from the same dye lot, and record the fabric reference. For later orders, accept that a new dye lot may vary slightly and replace covers in complete sets.
Can a local upholsterer make replacement covers?
Yes, if you have the parts list with dimensions and the original fabric reference. We provide this with every Green Banquette order.
Which booths are easiest to reconfigure?
Modular, bolt-together systems. See our modular frames collection for booths that separate, extend and re-assemble.
Tell us about your room, seat count and what matters most to you: longer service life, specific materials, lower shipping volume. We will reply with suggestions and an itemised quote.
Request a quote